PVC Homogeneous Sheet Installation Guide
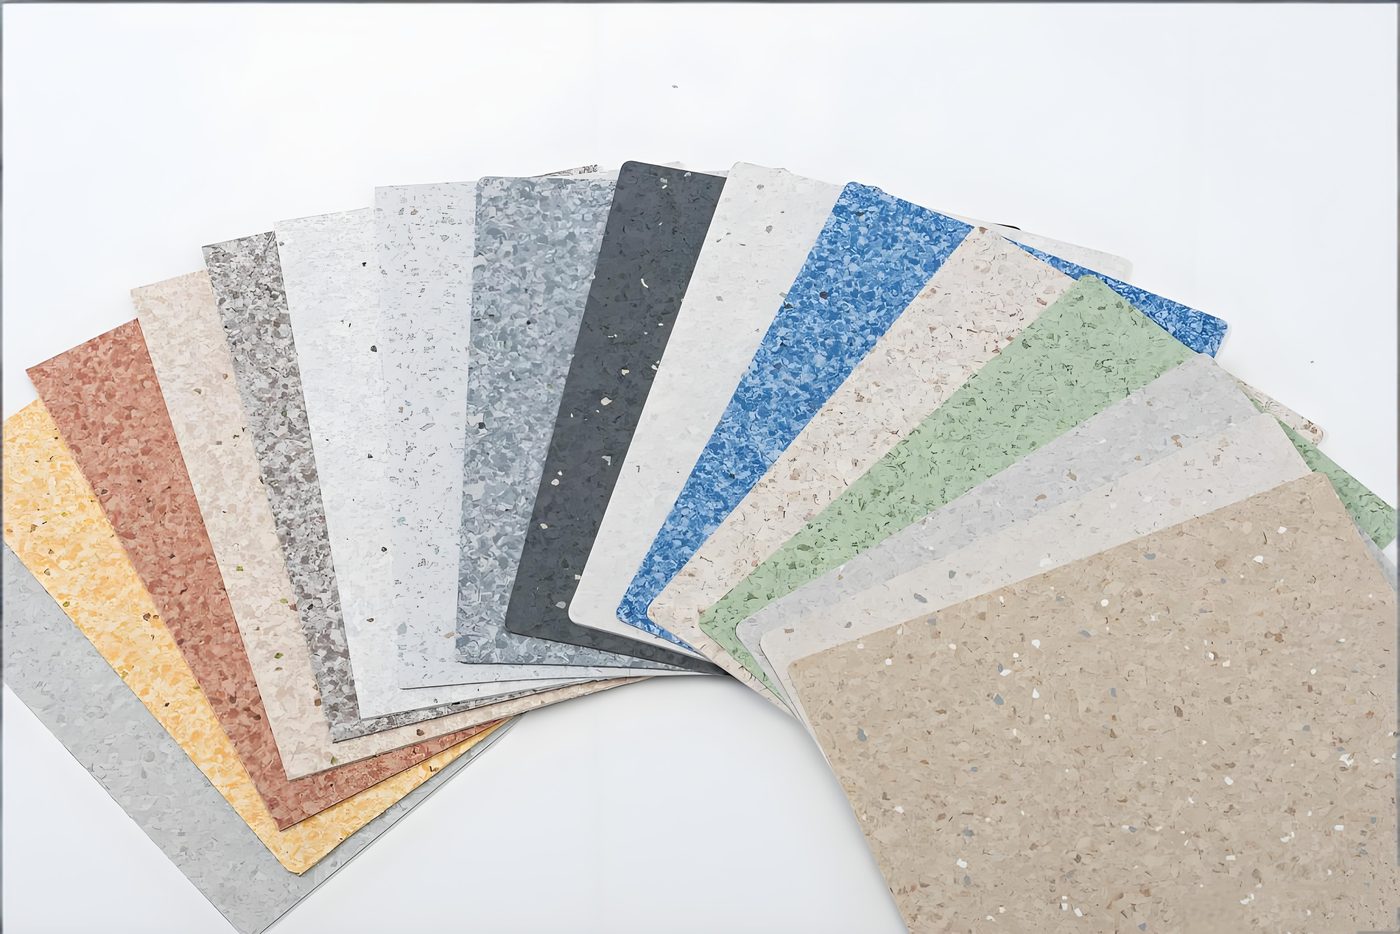
A homogeneous sheet floor is only as good as its installation. Get the subfloor wrong and no amount of material quality will save the job. This guide walks through the full process — written for installers, project managers and buyers who want to understand what a correct install looks like.
1. Subfloor preparation (the step most failures come from)
Homogeneous sheet is glue-down, so the subfloor must be flat, dry and clean:
- Moisture: concrete relative humidity below 75% RH per ASTM F2170 (in-situ RH test), or the adhesive bond may fail. In tropical climates, test twice — morning and afternoon.
- Flatness: max 2 mm gap under a 2 m straight edge. Uneven areas need self-leveling compound.
- Soundness: no dust, grease or loose patches. Grind high spots, fill low spots, vacuum thoroughly.
2. Acclimation
Rolls should acclimate at site temperature (18–27°C) for at least 24 hours, laid flat or loosely rolled. In high-humidity regions, store the rolls upright and wrap the ends to avoid edge moisture pick-up.
3. Layout planning
Plan the sheet direction before cutting: longer runs along the main light direction, seams staggered away from high-traffic lines. Mark the layout, then dry-lay the first roll to confirm the cut pattern.
4. Adhesive and laying
- Apply pressure-sensitive or wet adhesive with an A2 notched trowel (A1 or A3 per the adhesive spec) — follow the adhesive manufacturer's open time exactly.
- Roll the sheet into place and work it outward with a flooring roller (50 kg for seams) to expel trapped air.
- Do not stretch the sheet. Cut relief notches at door frames and around columns.
5. Heat welding the seams
The seam is what makes a homogeneous floor hygienic:
- Cut a shallow V-groove along the seam with a grooving tool.
- Weld with a PVC welding rod using a hot-air welder at the rod manufacturer's temperature.
- Trim flush with a crescent knife twice — once level, once for the final bevel.
6. Finishing with accessories
The floor-to-wall and stair transitions decide both hygiene and longevity:
- Cove former at the wall base — heat-weld the sheet up the curve for a sealed, cleanable junction.
- Flexible skirting over the cove or directly on the wall, glued, following curved walls.
- Stair nosing on every step edge — anti-slip profile, color-matched.
- Capping strips at doorways and transitions to other surfaces.
Ordering sheet and accessories from the same factory guarantees the color match — see our stair nosing selection guide and the accessories installation guide.
7. Common installation mistakes
| Mistake | Result |
|---|---|
| Wet subfloor | Adhesive failure, blisters within weeks |
| Skipping the roller | Air pockets and telegraphing |
| Sharp 90° wall corners | Dirt traps — cove former should be spec'd |
| Unmatched accessory colors | Visible patchwork — order matched profiles |
Already installed? Keep it performing with our PVC flooring maintenance guide — daily cleaning, polishing and tropical-climate care.
Frequently asked questions
How dry must the concrete subfloor be?
Below 75% RH measured by ASTM F2170 (in-situ RH test); in tropical climates test morning and afternoon. Never rely on a % moisture reading alone.
What trowel size for the adhesive?
An A2 notched trowel for most homogeneous sheet adhesives (A1 or A3 per the adhesive spec); match the notch to the adhesive's coverage requirement.
How long to acclimate the rolls?
At least 24 hours at site temperature (18–27°C), laid flat or loosely rolled; store upright in humid regions.
Why heat-weld the seams?
Welding seals the seam so the floor is watertight and hygienic — essential for healthcare, labs and food areas.