PVC Flooring Accessories Installation Guide
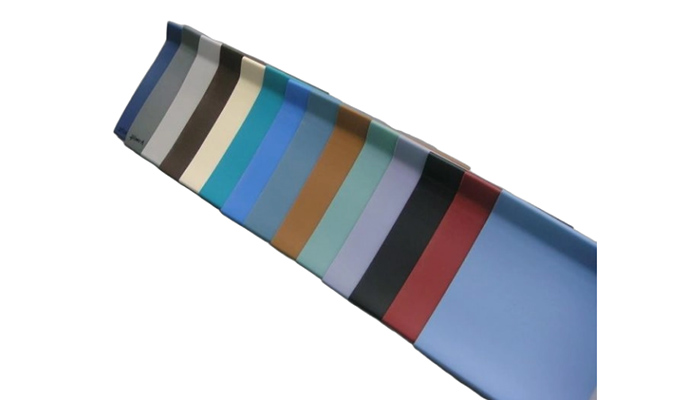
Accessories are the last 5% of the floor and the first thing visitors see. Each profile has its own fix and its own timing in the sequence — get them right and the floor looks like one system.
1. PVC Stair Nosing
Install after the sheet is laid and welded on the stair, before the floor is cleaned:
- Cut the nosing to the step width — PVC cuts cleanly with a fine-tooth saw; score-and-snap for flexible profiles.
- Apply adhesive to the nosing channel or the step edge, following the adhesive open time.
- Press into place over the sheet edge, wipe any squeeze-out immediately.
- For heat-weldable nosing, weld the sheet into the nosing groove for a seamless joint.
Rigid SPC nosing can also be click-installed where the system supports it — check the profile spec first.
2. PVC Flexible Skirting
Flexible skirting is the profile that follows curved walls:
- Measure the run and cut — flexible PVC takes clean 45° cuts at corners.
- Apply adhesive to the wall (not the profile) in a zigzag bead.
- Press on from one end, working along the curve without stretching.
- At corners, mitre or use preformed corner pieces for a clean turn.
3. Rigid Skirting Board (SPC)
Rigid boards are for straight, impact-prone corridors:
- Fix with adhesive or mechanical clips — check the profile's fixing system.
- Butt joints should fall at stud positions or use connector profiles.
- Leave a 1–2 mm expansion gap at internal corners where walls aren't perfectly square.
4. PVC Cove Former
The cove is installed before the sheet, at the floor-wall junction:
- Fix the cove former along the wall base at the planned radius.
- Lay the sheet over the cove, pressing it into the curve.
- Heat-weld the sheet to the cove for a sealed, watertight junction.
This is the detail that makes a healthcare floor truly cleanable — skip it and the 90° corner becomes a dirt and bacteria trap.
5. Hospital Handrails
Handrails are the only accessory fixed to the wall at height:
- Mark the fixing centers and drill — the aluminum core takes the load, the PVC cover absorbs impacts.
- Fix brackets to the wall, snap the aluminum core in, then slide the PVC cover over it.
- Finish ends with cap pieces; order pre-formed corners for bends.
6. Capping & Edge Strips
Use at doorways and transitions (sheet-to-tile, sheet-to-carpet):
- Cut to length, mitre at door jambs.
- Adhesive down over the raw sheet edge.
- Roll with a hand roller for full contact.
Installation checklist for buyers
| Accessory | Fix method | Order with |
|---|---|---|
| Stair nosing | Adhesive / weld | Sheet order, color-matched |
| Flexible skirting | Adhesive | Curved walls |
| Rigid skirting board | Adhesive / clips | Straight corridors |
| Cove former | Adhesive + weld sheet | Healthcare, labs |
| Handrails | Mechanical fixing | Corridors, elderly care |
| Capping strips | Adhesive | Transitions |
Not sure which profile your project needs? Start with our stair nosing selection guide — it explains sizes, anti-slip ratings and MOQ before you order.
Frequently asked questions
In what order should flooring accessories be installed?
The cove former goes in before the sheet; the sheet is laid and welded, then skirting, stair nosing and handrails finish the job.
Can accessories be color-matched to the flooring?
Yes — order stair nosing, skirting, capping strips and cove former from the same factory as the sheet and they are matched to the same shade.
What adhesive is used for PVC accessories?
A PVC-compatible contact or pressure-sensitive adhesive. Follow the open time and wipe any squeeze-out immediately.
Do I need special tools?
A fine-tooth saw for clean cuts, a notched trowel for adhesive, a hand roller, and a hot-air welder for heat-weldable profiles.